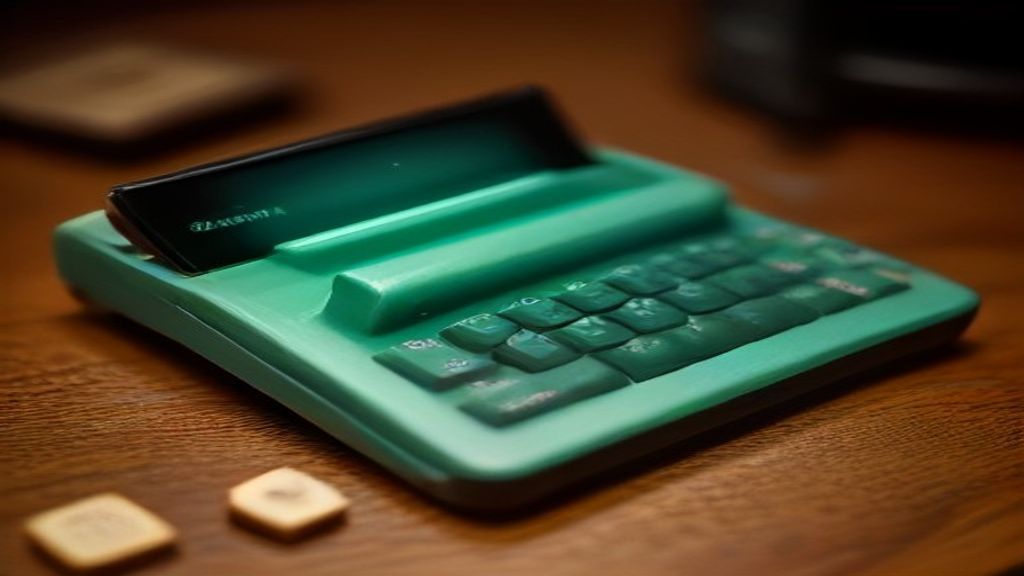
In the maker and embedded engineering community, two distinct design subcultures have enjoyed enduring popularity over the last decade: the cyberdeck and the Altoids tin project. Cyberdecks represent a retro-futuristic vision of portable computing, characterized by highly customized, rugged, and often asymmetric form factors. Conversely, Altoids peppermint tins represent the ultimate challenge in high-density packaging, forcing electronics designers to constrain their power budgets, thermal designs, and physical layouts into a pocket-sized metal enclosure.
A stunning fusion of these two philosophies has emerged, manifesting as a fully functional, ultra-portable cyberdeck built directly inside the classic metal hinges of a mint tin. Powered by a Raspberry Pi Zero, this project stands as a testament to what can be achieved when space-saving design is pushed to its absolute limits. Below, we break down the engineering challenges, hardware configurations, and software optimizations required to build a pocket-sized terminal in a highly conductive metallic environment.
The Brain of the Operation: Selecting the Compute Engine
When designing a system constrained by the internal dimensions of an Altoids tin (approximately 95 mm × 60 mm × 21 mm), processing hardware selection is critical. The standard Raspberry Pi model B is far too bulky, leaving the Raspberry Pi Zero family as the obvious choice.
Depending on the specific workload of the cyberdeck, makers have a few options within this family:
- Raspberry Pi Zero W: Equipped with a single-core ARM11 processor running at 1 GHz and 512MB of RAM, it provides built-in 802.11 b/g/n Wi-Fi and Bluetooth 4.1. This is highly suitable for simple terminal-based tasks and text editing, while drawing minimal current (typically 150 mA to 230 mA under active load).
- Raspberry Pi Zero 2 W: Offering a quad-core 64-bit ARM Cortex-A53 processor, this board delivers up to five times the performance of its predecessor. However, the increased thermal dissipation and slightly higher peak current draw (up to 500 mA or more under heavy load) require careful consideration of passive cooling and battery discharge rates inside the sealed metal enclosure.
The Mechanical Challenge: Working with Conductive Enclosures
One of the most dangerous traps when building inside an Altoids tin is the enclosure itself. The tin is made of tin-plated steel, which is highly conductive. Directly mounting bare PCBs, exposed soldered wires, or battery terminals inside the tin will result in immediate short circuits.
To mitigate this, modern makers rely heavily on 3D-printed chassis inserts. Designing a custom internal bracket using CAD software (such as Fusion 360 or FreeCAD) allows for:
- Electrical Isolation: A thin layer of PLA or PETG plastic acts as an excellent insulator between the metal tin and the system's electronic components.
- Structural Rigidity: The bracket can secure the Raspberry Pi, display module, and power management board in place without relying on messy glues or structural epoxies.
- Hinge Integration: Clever designers utilize the existing friction hinge of the tin to route delicate display ribbon cables from the bottom compartment (which typically houses the battery and computer) to the lid (which houses the display).
Display Interfacing: SPI vs. DPI vs. HDMI
Fitting a display into the lid of an Altoids tin requires balancing resolution, screen size, and pin utilization. The active viewing area in the lid can accommodate screens ranging from 2.0 inches to 2.8 inches diagonally.
Makers generally choose between two primary display protocols:
- SPI (Serial Peripheral Interface): Screens utilizing controllers like the ST7789 or ILI9341 are incredibly popular because they require very few GPIO pins (usually MOSI, SCLK, CS, D/C, and Reset). While SPI display bandwidth is relatively low, drivers like
fbcp-ili9341bypass standard framebuffers to allow for smooth 60 FPS video playback and highly responsive command-line interaction on tiny screens. - DPI (Display Parallel Interface): DPI displays offer high color depth and high refresh rates without the CPU overhead of SPI. However, they require almost all of the Raspberry Pi's 40-pin GPIO header, leaving virtually no pins free for keyboards, physical buttons, or external sensors.
For a cyberdeck that prioritizes external connectivity, an SPI display is almost always preferred, as it preserves GPIO lines for custom input hardware.
Designing a Compact Power Delivery Network
Portable operation requires a reliable, rechargeable DC power source. The standard approach for pocket-sized projects is a thin, single-cell Lithium Polymer (LiPo) battery rated at 3.7V. A capacity of 500 mAh to 1000 mAh is typically the limit of what can physically fit alongside the other components.
To safely bridge the gap between a 3.7V LiPo battery and the 5V requirement of the Raspberry Pi, a power management subsystem is required:
- Charging Circuitry: A dedicated IC such as the TP4056 handles constant-current/constant-voltage (CC/CV) charging from an external USB-C port.
- Boost Converter: A DC-DC boost converter (such as the MT3608 or a fully integrated power module like the IP5306) steps the battery's fluctuating 3.0V–4.2V voltage up to a stable 5.0V output.
- Protection Circuitry: Over-discharge and over-current protection are vital to prevent the LiPo battery from swelling or catching fire inside the sealed metal tin if a short circuit occurs.
The Human Interface: Typing on a Miniature Scale
No cyberdeck is complete without an input method. Standard keyboards are out of the question, forcing makers to innovate in the realm of micro-keyboards. Popular hardware implementations include:
- Salvaged BlackBerry Keyboards: The Q10 and Q20 keyboard assemblies can be interfaced using dedicated breakout boards or custom RP2040-based microcontrollers that translate the raw key matrix into standard USB HID keyboard signals.
- Custom Solder-Your-Own Tactile Matrices: Using miniature tactile switches arranged in a grid, wired directly to a shift register or an I2C I/O expander to keep GPIO usage to an absolute minimum.
- Miniature Wireless QWERTY Keypads: Some makers choose to disassemble cheap off-the-shelf 2.4GHz handheld mini-keyboards, integrating their receiver and control PCB directly into the tin.
Software Optimization for Miniature Terminals
Running a standard desktop environment on a 320×240 or 480×320 display is practically impossible due to UI scaling limits. Consequently, Altoids cyberdecks are best run in terminal-only mode or with highly optimized tiling window managers (like i3wm or sway) if a graphical interface is absolutely required.
Key software adjustments include setting up custom console fonts (such as larger, high-legibility terminal fonts like Terminus) and configuring the console shell to automatically start key diagnostic dashboards, network analysis tools, or retro text editors upon boot.Why the Minty Cyberdeck Matters
While an Altoids-tin cyberdeck may not replace your primary laptop, the project represents a profound exercise in engineering discipline. To construct one, a maker must act as a mechanical engineer, an electrical layout designer, and a systems administrator all at once. By overcoming the limitations of space, conductivity, thermal dissipation, and electrical efficiency, developers walk away with a highly customized, functional piece of computational art that fits in the palm of a hand.


0 comments:
Post a Comment