Published August 09, 2026
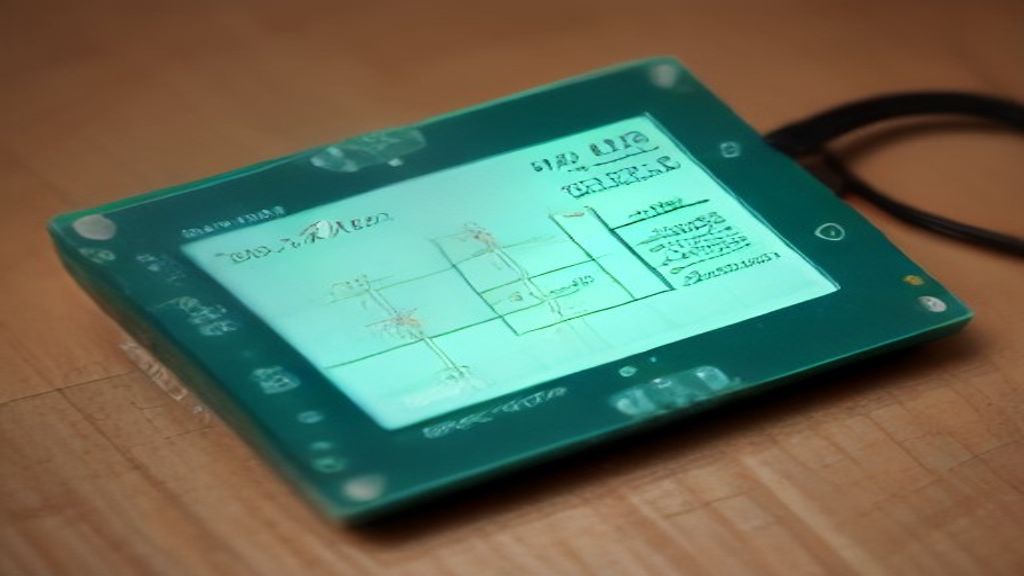
Bridging Computer Science and Physical Computing
Computer science theory can sometimes feel abstract and disconnected from physical hardware. However, when you implement classic algorithms directly on microcontrollers, theory transforms into an engaging, tangible reality. A perfect example of this is building a pocket-sized route finder using the Raspberry Pi Pico and Dijkstra’s algorithm. This project demonstrates how a highly affordable microcontroller can process graph theory algorithms to navigate real-world or gamified pathways, such as finding the shortest path to a hidden treasure.
Whether you are a student learning about data structures, a robotics developer designing autonomous navigation systems, or an IoT enthusiast looking for an offline pathfinding solution, this project serves as an excellent gateway. In this article, we will break down the hardware design, explore the mathematical engine behind the system, and look at how to implement this setup on the RP2040 silicon.
The Hardware Stack: Building the Pocket Navigator
To construct your own handheld route finder, the hardware requirements are straightforward and highly accessible. The core of the system is the Raspberry Pi Pico or Pico W, powered by the dual-core RP2040 microcontroller. Featuring 264KB of internal SRAM and up to 16MB of off-chip flash memory, the RP2040 provides more than enough computing headroom to store maps and calculate complex pathing networks instantly.
To interact with your pocket navigator, you will need a few simple components:
- Display: A small I2C display, such as a 0.96-inch SSD1306 OLED screen (128x64 resolution), is ideal for rendering the graph nodes, text-based directions, and the final computed path.
- Input Controls: Tactile buttons or a rotary encoder allow you to scroll through available nodes, select your current starting position, and choose your desired destination.
- Power Supply: A small lithium-polymer (LiPo) battery paired with a charging shim, or a simple AAA battery pack, makes the entire device fully portable.
- Prototyping Gear: A half-sized breadboard and jumper wires are perfect for testing the connections before soldering the components onto a perfboard for a permanent pocket assembly.
Understanding Dijkstra’s Algorithm in an Embedded Context
Dijkstra’s algorithm is a classic computer science method used to find the shortest path between nodes in a weighted graph. In a standard mapping system, nodes represent intersections or landmarks, while the connecting paths (edges) are assigned "weights" representing physical distances, travel times, or difficulty of terrain.
When running this algorithm on a resource-constrained microcontroller like the RP2040, efficiency is key. While 264KB of RAM is generous for a microcontroller, it is still crucial to represent your graph data structure cleanly. Instead of massive adjacency matrices, embedded developers typically use adjacency lists represented as dictionaries in MicroPython or arrays of structs in C/C++. This keeps the memory footprint negligible and ensures that pathfinding calculations complete in milliseconds.
The algorithm operates by starting at your designated node and maintaining a running list of the shortest known distances to all other nodes. It iteratively visits the unvisited node with the smallest tentative distance, updates the distances to neighboring nodes, and marks the current node as visited. This process continues until the destination node is reached, yielding the absolute shortest path.
Software Design and Graph Representation
To write the software for your Pico route finder, MicroPython is an outstanding choice due to its rapid prototyping capabilities and built-in support for complex data types. The map must first be converted into a digital representation that the Pico can understand. Let's look at how a simple pathfinding graph is structured in code.
Consider a simple system of four locations: Base Camp (A), Mountain Pass (B), River Crossing (C), and Treasure (D). We can represent these locations and the distances between them using a standard Python dictionary:
graph = {
    'Base Camp': {'Mountain Pass': 5, 'River Crossing': 10},
    'Mountain Pass': {'Base Camp': 5, 'Treasure': 8},
    'River Crossing': {'Base Camp': 10, 'Treasure': 3},
    'Treasure': {'Mountain Pass': 8, 'River Crossing': 3}
}
When the user selects "Base Camp" as the start and "Treasure" as the destination, the Pico executes the algorithm. It compares the path through the Mountain Pass (total weight of 13) against the path through the River Crossing (total weight of 13). If the River Crossing path was adjusted to a weight of 2, the algorithm would instantly recalculate and direct the user through the river as the optimal route.
Wiring the Hardware
Connecting the display and input buttons to the Raspberry Pi Pico is straightforward. Here is a typical wiring configuration using the Pico’s I2C and GPIO pins:
- SSD1306 OLED Display (I2C):
- VCC to Pico 3V3 (Pin 36)
- GND to Pico GND (Pin 38)
- SDA to Pico GP8 (Pin 11)
- SCL to Pico GP9 (Pin 12)
- Control Buttons (Active Low with Internal Pull-ups):
- Next Button to Pico GP14 (Pin 19)
- Select Button to Pico GP15 (Pin 20)
- Opposite terminal of both buttons connected to Pico GND
Building the User Experience
A great DIY project relies on an intuitive user interface. On boot, the Pico can display a splash screen on the OLED, followed by a menu prompt: "Select Start Node". The user presses the "Next" button to cycle through the registered locations in the graph database. Once the desired starting point is highlighted, pressing the "Select" button locks it in.
The device then prompts the user to "Select Destination". Using the same interface loop, the user selects the target node. Instantly, the Pico runs the Dijkstra routine, displays a loading indicator for a fraction of a second, and then presents the optimal path sequence step-by-step on the screen (e.g., "Go to Mountain Pass, then to Treasure"), along with the total calculated distance.
Why This Project Matters for Electronics Makers
Developing a pocket route finder on the Raspberry Pi Pico does more than just create a fun, retro-style navigation gadget. It provides a foundational understanding of how software logic interacts directly with physical systems. This project is a miniature prototype of the exact localization and pathfinding logic used in modern automated guided vehicles (AGVs), warehouse robotics, and smart tracking devices.
Furthermore, because the system does not rely on an active internet connection, GPS satellites, or external servers, it is incredibly resilient. It serves as an excellent demonstration of edge computing—processing data locally on low-cost hardware without needing cloud infrastructure. Makers can easily scale this project by adding custom sensors, such as a digital compass (like the HMC5883L), to show directional headings along with the calculated routes.
Conclusion
Building a pocket-sized route finder using the Raspberry Pi Pico is an incredibly rewarding weekend project that unites computer science algorithms with hands-on electronics. By combining the processing power of the RP2040, the simplicity of MicroPython, and the utility of Dijkstra’s algorithm, you can create an educational, portable device capable of navigating complex networks. Grab a Pico, wire up an OLED screen, map out your custom environment, and start navigating your way through physical space with pure computer science!


0 comments:
Post a Comment